> ## Documentation Index
> Fetch the complete documentation index at: https://www.vozo.ai/docs/llms.txt
> Use this file to discover all available pages before exploring further.
# Glossary
> Ensure consistent translation and pronunciation of key terms with custom glossaries.
Glossary is available to **Studio** and higher-tier members.
## What Is a Glossary?
A **Glossary** ensures consistent translation and pronunciation of specific terms across your project. This is especially useful for:
* Brand names
* Industry-specific terminology
* Names and proper nouns
* Fixed expressions that shouldn't be translated
## Create a Glossary
To create and manage glossaries:
1. On the **Dashboard**, click the **Glossaries** tab in the left sidebar.
2. You will see a list of all glossaries you’ve created, along with their language pairs and number of terms.
3. Click **New Glossary** to create a new glossary.
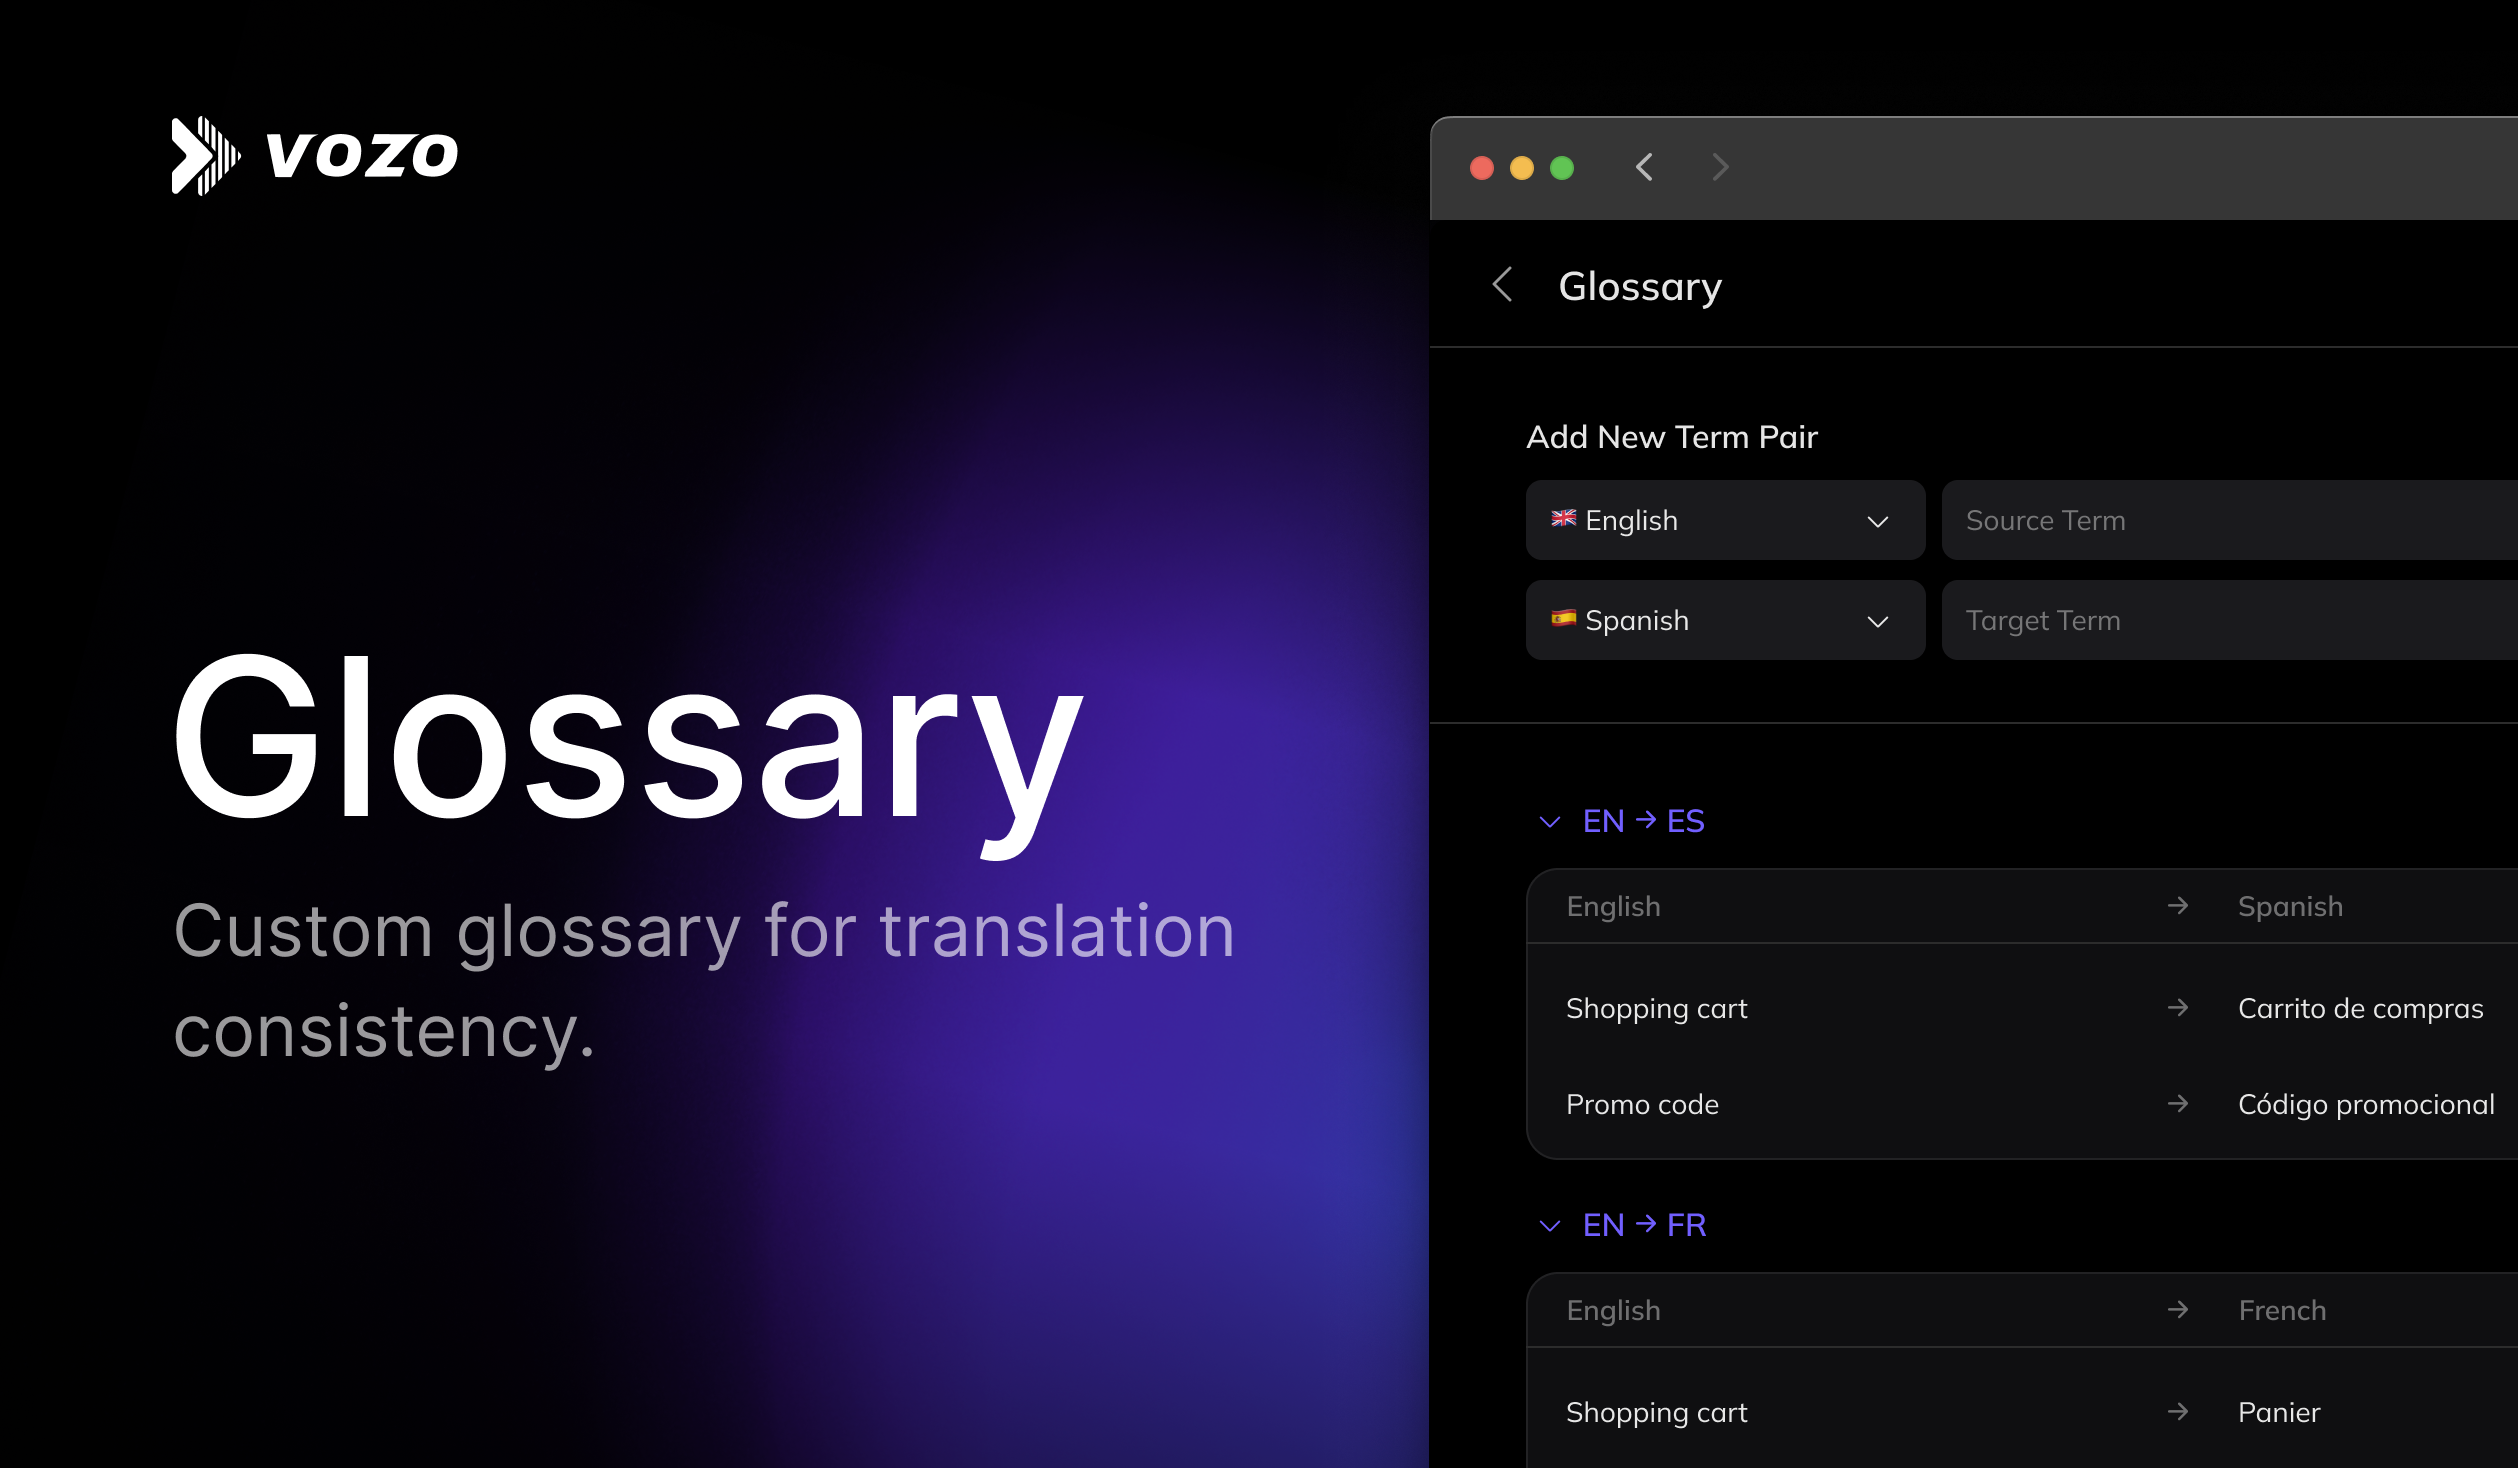
This will open the term editor page, where you can:
* Add new term pairs
* Edit or delete existing terms
* Import terms via CSV
 ### Add New Term Pair
To add a term manually:
1. Select the **source language** and **target language**.
2. Enter the **source term** and **target term**. Check **Do not translate** if you want to preserve the original term in the output, such as brand names.
3. (Optional) Add a pronunciation to guide dubbing output. Pronunciation only applies to Translate & Dub.
4. Click **Add Term Pair**.
### Import from CSV
To import multiple terms at once from an existing glossary file:
1. Click **Import**.
2. Prepare a `.csv` file with 5 columns:
* Source Term
* Target Term
* Source Lang Code
* Target Lang Code
* Pronunciation (optional)
3. **Do not include a header row**—the first row will be treated as a term pair.
4. Drag your file into the upload area or click to select it.
5. Click **Import** to upload.
## Use Glossary in a Project
When creating a **Translation Project**, you can choose one or more glossaries in the **Advanced Settings** section.
1. Expand the **Advanced Settings**.
2. In the **Glossary** dropdown, select one or more glossaries.
3. The selected glossaries will guide translation. If any term conflicts exist across glossaries, terms from the glossary listed first will be used with higher priority.
### Add New Term Pair
To add a term manually:
1. Select the **source language** and **target language**.
2. Enter the **source term** and **target term**. Check **Do not translate** if you want to preserve the original term in the output, such as brand names.
3. (Optional) Add a pronunciation to guide dubbing output. Pronunciation only applies to Translate & Dub.
4. Click **Add Term Pair**.
### Import from CSV
To import multiple terms at once from an existing glossary file:
1. Click **Import**.
2. Prepare a `.csv` file with 5 columns:
* Source Term
* Target Term
* Source Lang Code
* Target Lang Code
* Pronunciation (optional)
3. **Do not include a header row**—the first row will be treated as a term pair.
4. Drag your file into the upload area or click to select it.
5. Click **Import** to upload.
## Use Glossary in a Project
When creating a **Translation Project**, you can choose one or more glossaries in the **Advanced Settings** section.
1. Expand the **Advanced Settings**.
2. In the **Glossary** dropdown, select one or more glossaries.
3. The selected glossaries will guide translation. If any term conflicts exist across glossaries, terms from the glossary listed first will be used with higher priority.